Generate a Panel Poster File Using PosteRazor


To make a file suitable for a Panel Poster, we need to pass an image through an application that will enlarge and dice it up across multiple pages contained in a single PDF document.

Be aware that safety is your responsibility. 


Step 1: Select Image

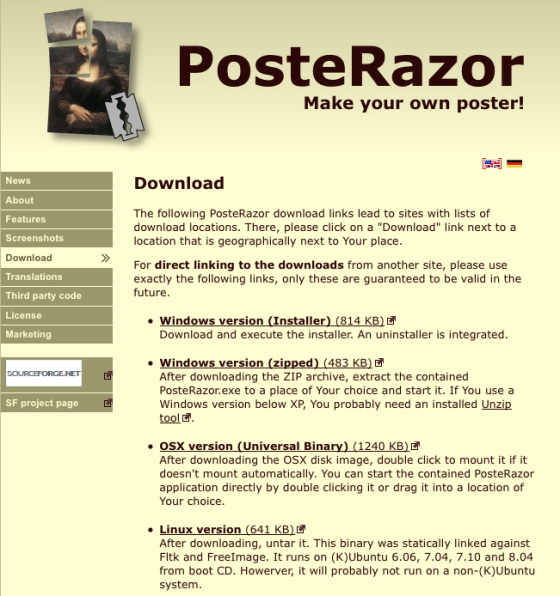
PosteRazor is a free Macintosh, Windows, and Linux application that is the best option if your goal is to generate a poster at the highest quality possible. The input image can be as large as desired. We’ve been able to produce some highly detailed posters using this tool. (PIC 1-1, PIC 1-2, PIC 1-3)

Here's some guidelines to help you select an image:

  • The file format can be JPG, GIF, BMP, PNG, TIFF, and many more.
  • We recommend using images that are 1 MB or larger.
  • The larger the image size, the better the outcome.
  • The larger the final poster (number of panels), the larger the image should be.

For example, below are three posters that used images ranging from 1 MB up to 4.8 MB. All produced large posters with great image quality. (PIC 1-4, PIC 1-5, PIC 1-6) If you want to search the internet for an image, an easy way to find images that are large enough is to use Google's images search tool:

  1. Go to Google's Advanced Image Search tool.
  2. Enter your search term(s).
  3. Set the image size to at least "Larger than 1024 x 768".
  4. Click "Search images" button.
  5. Click on an interesting image to see it's size.

(PIC 1-1)

(PIC 1-2)

(PIC 1-3)

(PIC 1-4)

(PIC 1-5)

(PIC 1-6)

Step 2: Get a PDF viewer

You will need an application that can view and print PDFs. On Mac, you will use the "Preview" application located in your "Applications" directory. On Windows you will need to download and install a free PDF viewer like Adobe’s Reader.

Step 3: Download and install

Go to posterazor.sourceforge.net, click on the "Download" button, and choose a version you would like to download. (PIC 3-1) On Windows, run the installer. (PIC 3-2) On Mac, double-click to mount the DMG file and drag the PosteRazor application to your applications folder. (PIC 3-3)

(PIC 3-1)

(PIC 3-2)

(PIC 3-3)

Step 4: Select image and paper format

Launch PosteRazor and click the folder icon to load your "Input image". (PIC 4-1) Click "Next". Set the paper size and orientation as desired. The file needs to be scaled to allow at least a 3/4" margin. Do this by setting the borders to:

Left = 0.936 in (2.377 cm)

Right = 0.936 in (2.377 cm)

Top = 1.219 in (3.096 cm)

Bottom = 1.219 in (3.096 cm)

Click "Next". (PIC 4-2)

(PIC 4-1)

(PIC 4-2)

Step 5: Define image overlapping

PosteRazor is designed to produce large posters by pasting pages together. To make this easier they have an "overlap" area where you layer adjacent pages. We do not want the overlap area. You cannot set the overlap to 0, so we set it to a small, unnoticeable number like "0.0001 in". (PIC 5-1) Click "Next".

(PIC 5-1)

Step 6: Define poster size

Set the number of pages high and wide you would like your poster to be. If the image isn't being diced up correctly, you may need to crop and/or scale your image in another application like Photoshop or Gimp first. Don't worry about partial panels you don't care about. You can either remove these from the final PDF, or simply not print those panels. (PIC 6-1) Click "Next".

(PIC 6-1)

Step 7: Save and verify

Click the "Save the poster" button and name your poster file. (PIC 7-1) PosteRazor will process your file and open it when the poster is complete. Review the panels. (PIC 7-2) If you have partial panels that you do not want in the PDF, and your PDF viewer allows it, delete them from the PDF. If you have any other issues with the output, start the process again and make the desired changes.

(PIC 7-1)

(PIC 7-2)

Step 8: Build a Panel Poster

Once you're happy with the output you can print and build your panel poster.