Generate a Panel Poster File Using Rasterbator Standalone


To make a file suitable for a Panel Poster, we need to pass an image through an application that will enlarge and dice it up across multiple pages contained in a single PDF document.

Be aware that safety is your responsibility. 


Step 1: Select Image

Rasterbator Standalone is a free Windows application that enlarges your image using small dots to give it a cool "pop art" feel. Up close it looks like clusters of abstract dots; however, from a distance the picture blends into focus and looks great. You can crop, resize, adjust the dot size, and change color for different effects. It is similar to the web version of Rasterbator. Two notable benefits over the web version are (1) you can use smaller dot sizes, and (2) the input image can be larger than 1MB. This allows you to produce posters with more detail. (PIC 1-1, PIC 1-2, PIC 1-3)

Here's some guidelines to help you select an image:

  • The file format has to be JPG or GIF.
  • We recommend using images that are 1 MB or larger.
  • The larger the image size, the better the outcome.
  • The larger the final poster (number of panels), the larger the image should be.

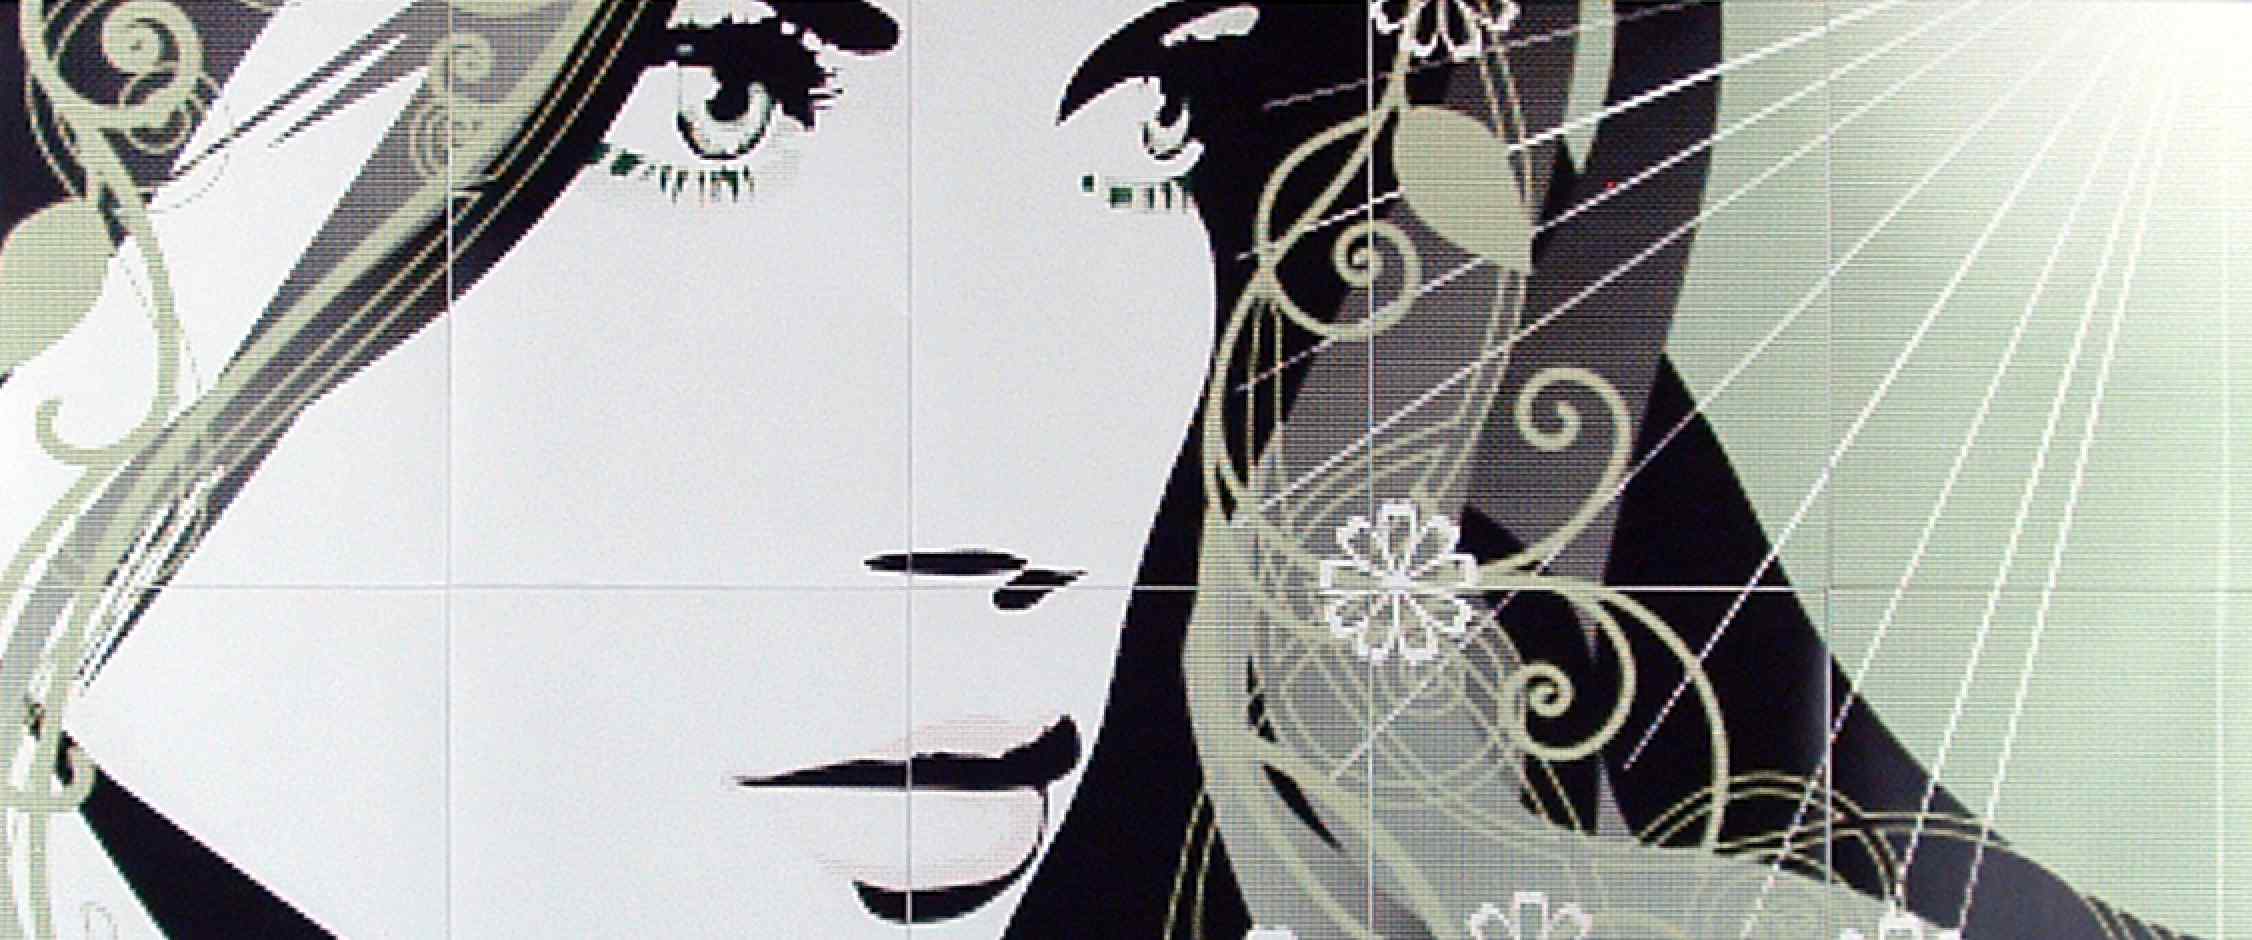
For example, below is a poster that used an image that was only 204 kB which produced a very nice portrait. (PIC 1-4) If you want to search the internet for an image, an easy way to find images that are large enough is to use Google's images search tool:

  1. Go to Google's Advanced Image Search tool.
  2. Enter your search term(s).
  3. Set the image size to at least "Larger than 1024 x 768".
  4. Click "Search images" button.
  5. Click on an interesting image to see it's size.

(PIC 1-1)

(PIC 1-2)

(PIC 1-3)

(PIC 1-4)

Step 2: Get a PDF viewer

You will need an application that can view and print PDFs. On Mac, you will use the "Preview" application located in your "Applications" directory. On Windows you will need to download and install a free PDF viewer like Adobe’s Reader.

Step 3: Download and install

Go to arje.net/rasterbator, download, unzip, and move the "Rasterbator Standalone" folder to where you like to store applications. Open the folder. (PIC 3-1)

(PIC 3-1)

Step 4: Select image and paper size

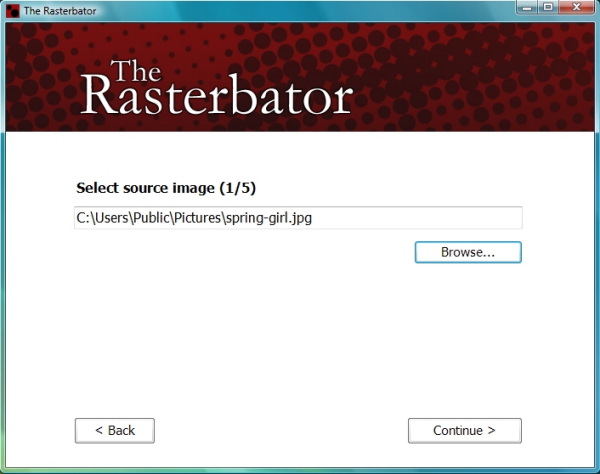
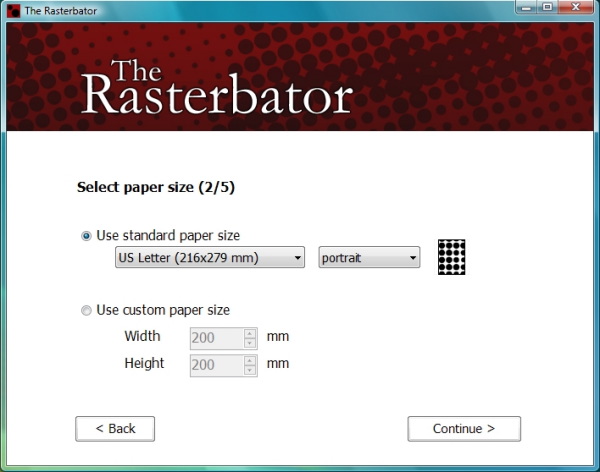
Launch the Rasterbator application and click the "Browse..." button. Select the image file, and click "Continue". (PIC 6-2) Set the paper size and orientation as desired. (PIC 4-1)

(PIC 4-1)

(PIC 4-2)

Step 5: Define poster size

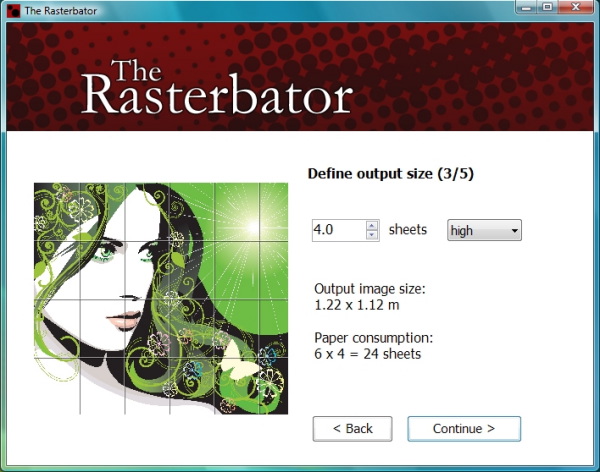
Set the number of pages high and wide you would like your poster to be. If the image isn't being diced up correctly, you may need to crop and/or scale your image. This has to be done in another application like Photoshop or Gimp, and then start the process again. Don't worry about partial panels you don't care about. You can either remove these from the final PDF, or simply not print those panels. (PIC 5-1) Click "Continue".

(PIC 5-1)

Step 6: Set options

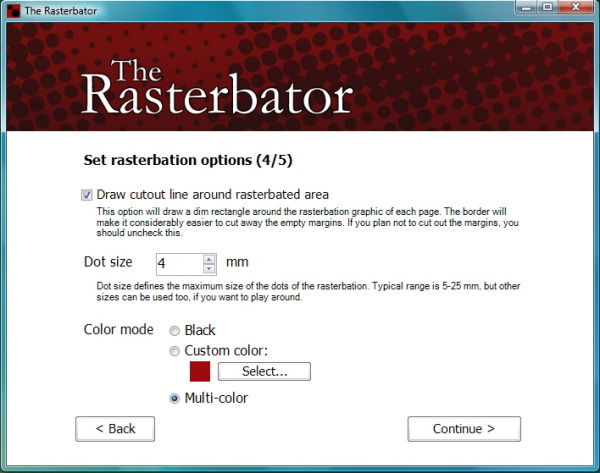
Always check the "Draw border around rasterbated area" for panel posters. The faint line helps you align the scoring guide. We like to use 4mm for the "Dot size". However, you can create some interesting effects with larger dot sizes. It's best to experiment. In general, the smaller dots, the more detail. For the "Color mode" we chose "Multi-color", but you can make some very interesting effects choosing black and white or monochromatic. Have fun with it. (PIC 6-1) Click the "Continue" button to proceed.

(PIC 6-1)

Step 7: Save, generate, verify

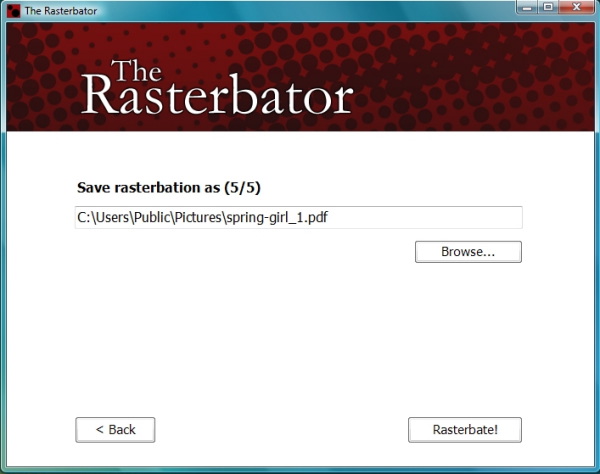
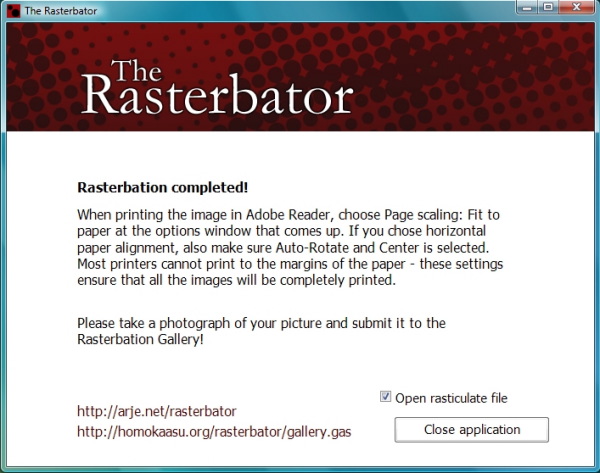
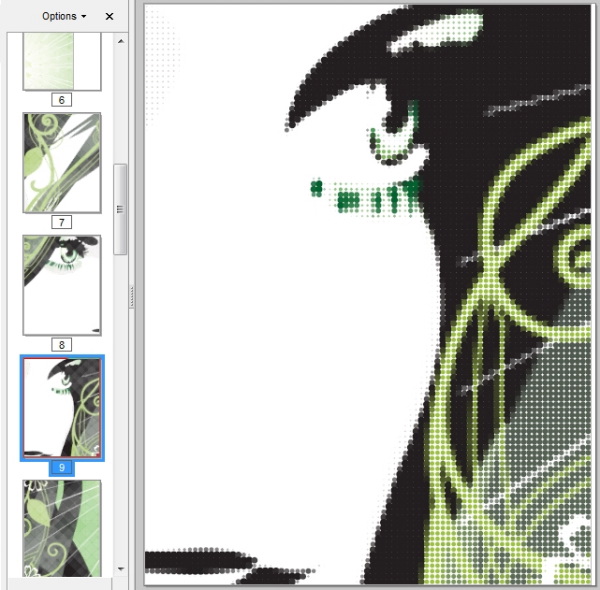
Choose the name and location to save the PDF, and click "Rasterbate!". (PIC 7-1) Rasterbator will process your file and notify you when the poster is complete. (PIC 7-2) Open the PDF and review the panels. (PIC 7-3) If you have partial panels that you do not want in the PDF, and your PDF viewer allows it, delete them from the PDF. If you have any issues with the output, start the process again and make the desired changes.

(PIC 7-1)

(PIC 7-2)

(PIC 7-3)

Step 8: Build a Panel Poster

Once you're happy with the output you can print and build your panel poster.