To make a file suitable for a Panel Poster, we need to pass an image through an application that will enlarge and dice it up across multiple pages contained in a single PDF document.

Be aware that safety is your responsibility.
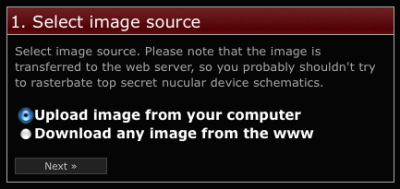
Step 1: Select Image
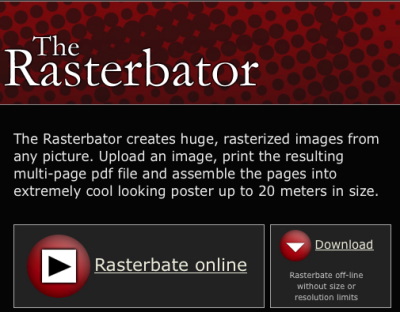
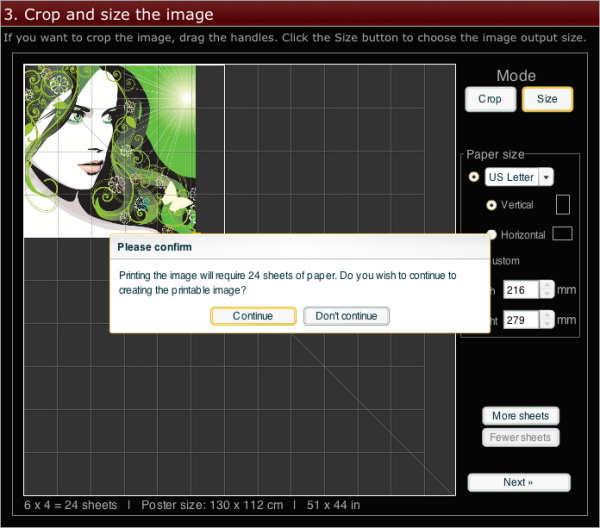
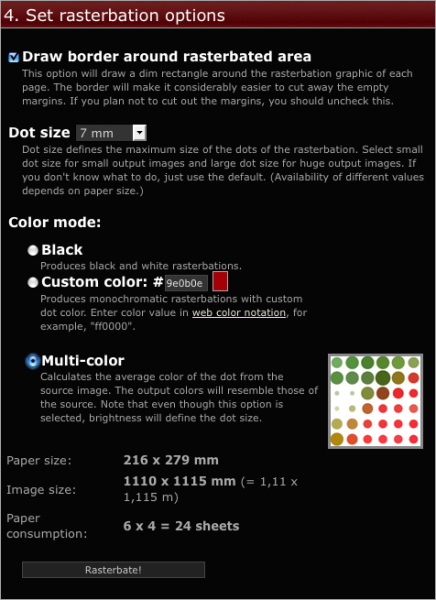
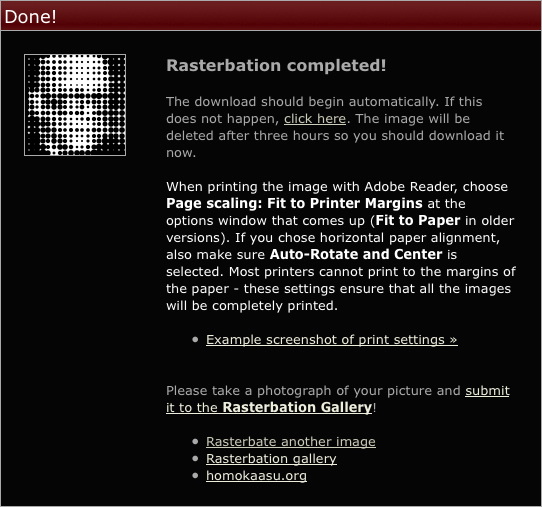
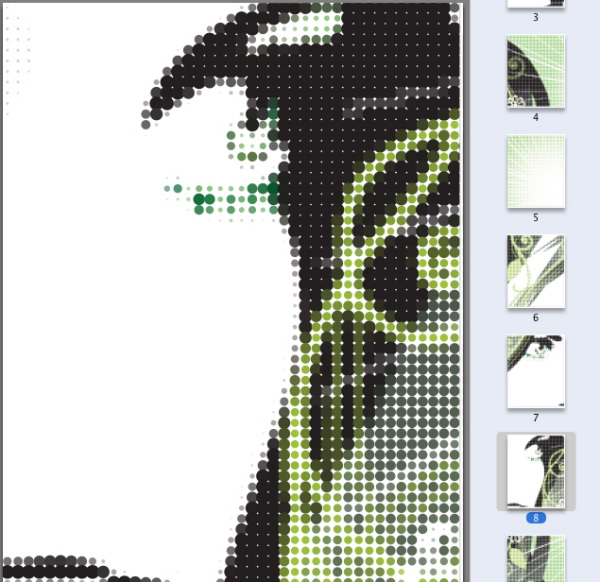
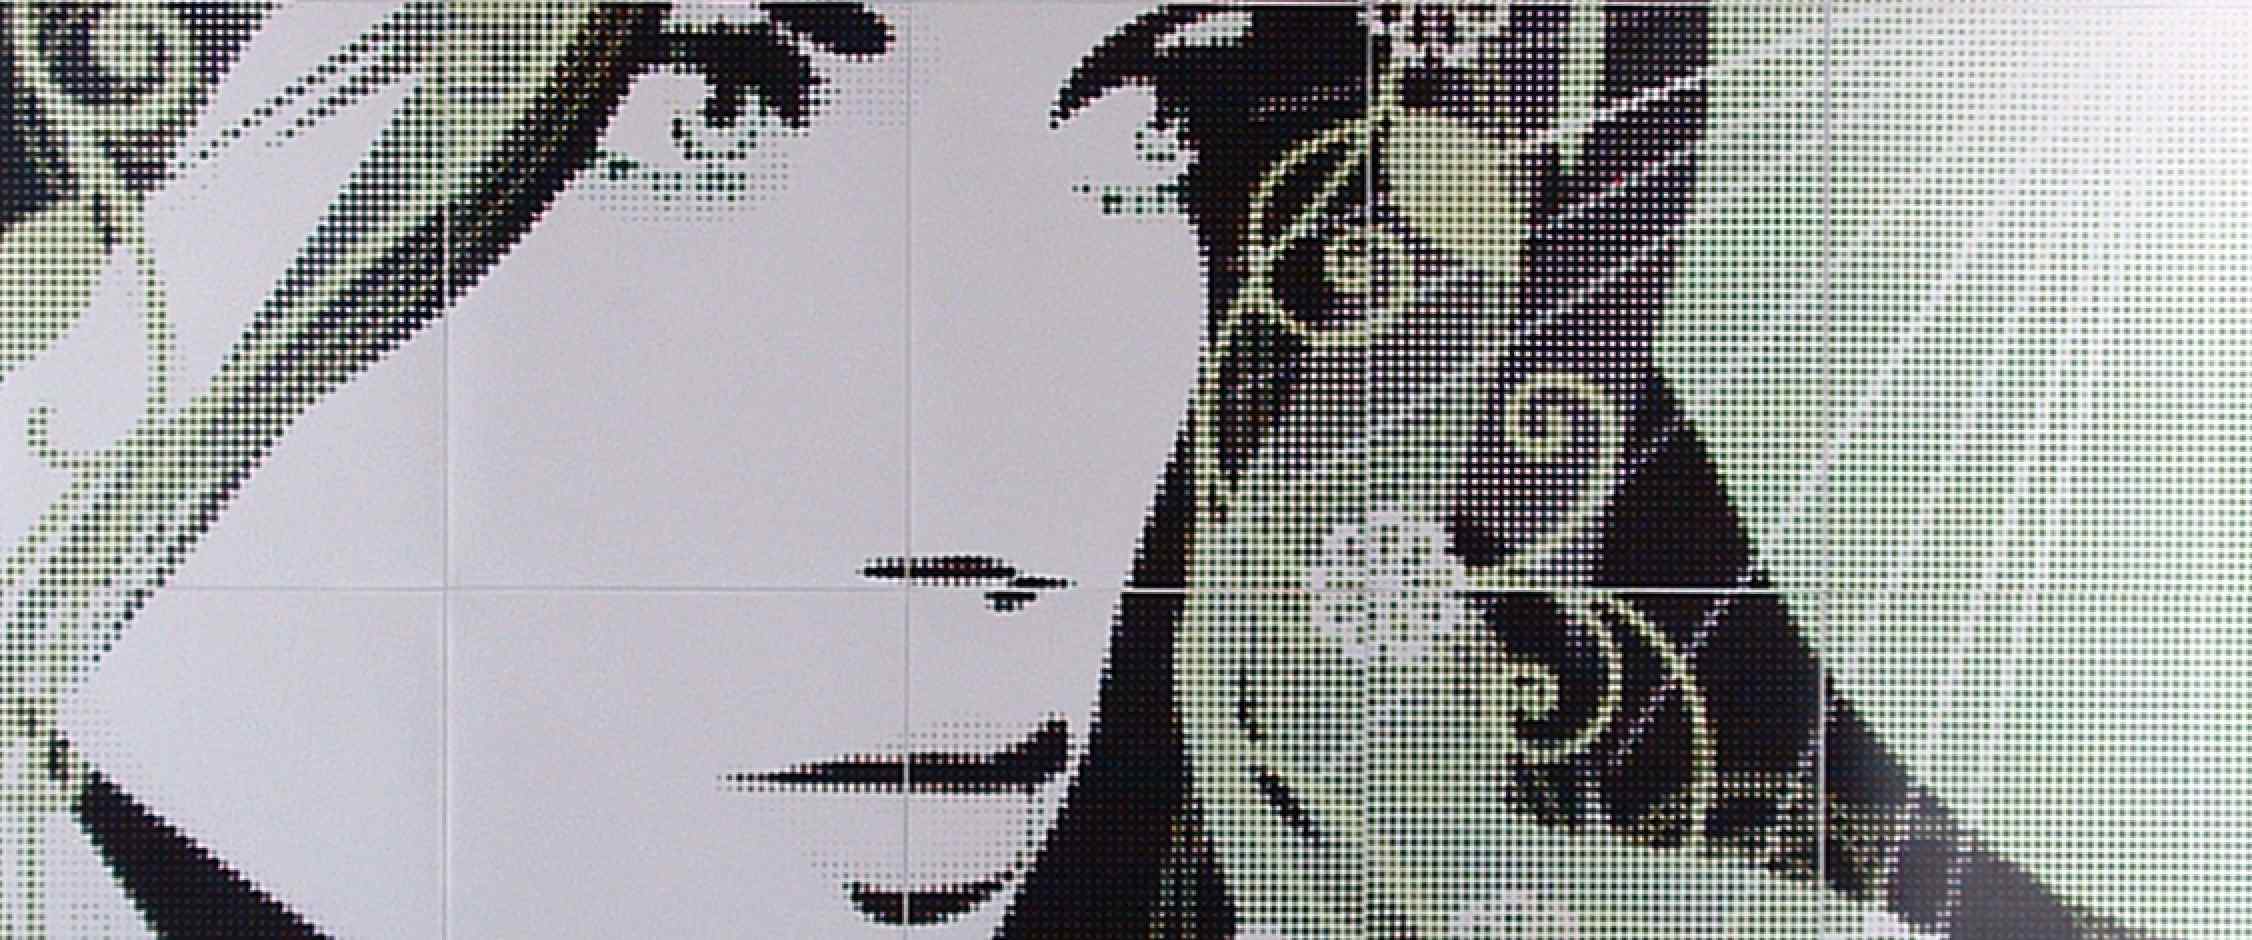
Rasterbator is a free web application that runs in your browser and enlarges your image using small dots to give it a cool "pop art" feel. Up close it looks like clusters of abstract dots; however, from a distance the picture blends into focus and looks great. You can crop, resize, adjust the dot size, and change color for different effects. (PIC 1-1, PIC 1-2, PIC 1-3)
Here's some guidelines to help you select an image:
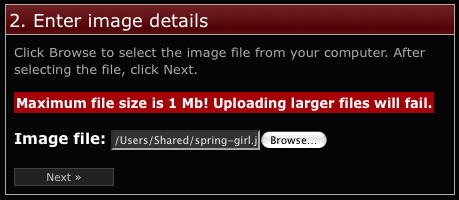
- The file format has to be JPG or GIF.
- You are limited to a maximum of 1MB for your uploaded image size.
- We recommend using images that are just under 1 MB (eg: 900 kB).
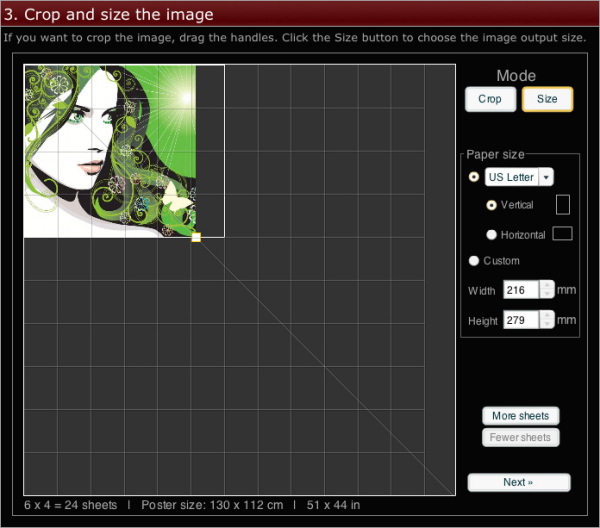
For example, below is a poster that used an image that was only 428 kB which produced a fantastic large poster. (PIC 1-4) If you want to search the internet for an image, an easy way to find images that are large enough is to use Google's images search tool:
- Go to Google's Advanced Image Search tool.
- Enter your search term(s).
- Set the image size to at least "Larger than 1024 x 768".
- Click "Search images" button.
- Click on an interesting image to see it's size.

(PIC 1-1)
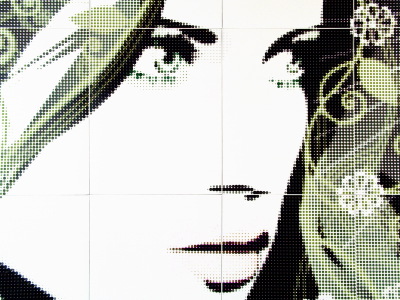
(PIC 1-2)
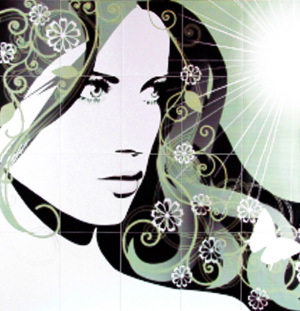
(PIC 1-3)
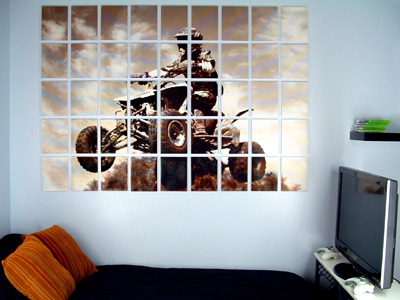
(PIC 1-4)
Step 2: Get a PDF viewer
You will need an application that can view and print PDFs. On Mac, you will use the "Preview" application located in your "Applications" directory. On Windows you will need to download and install a free PDF viewer like Adobe’s Reader.