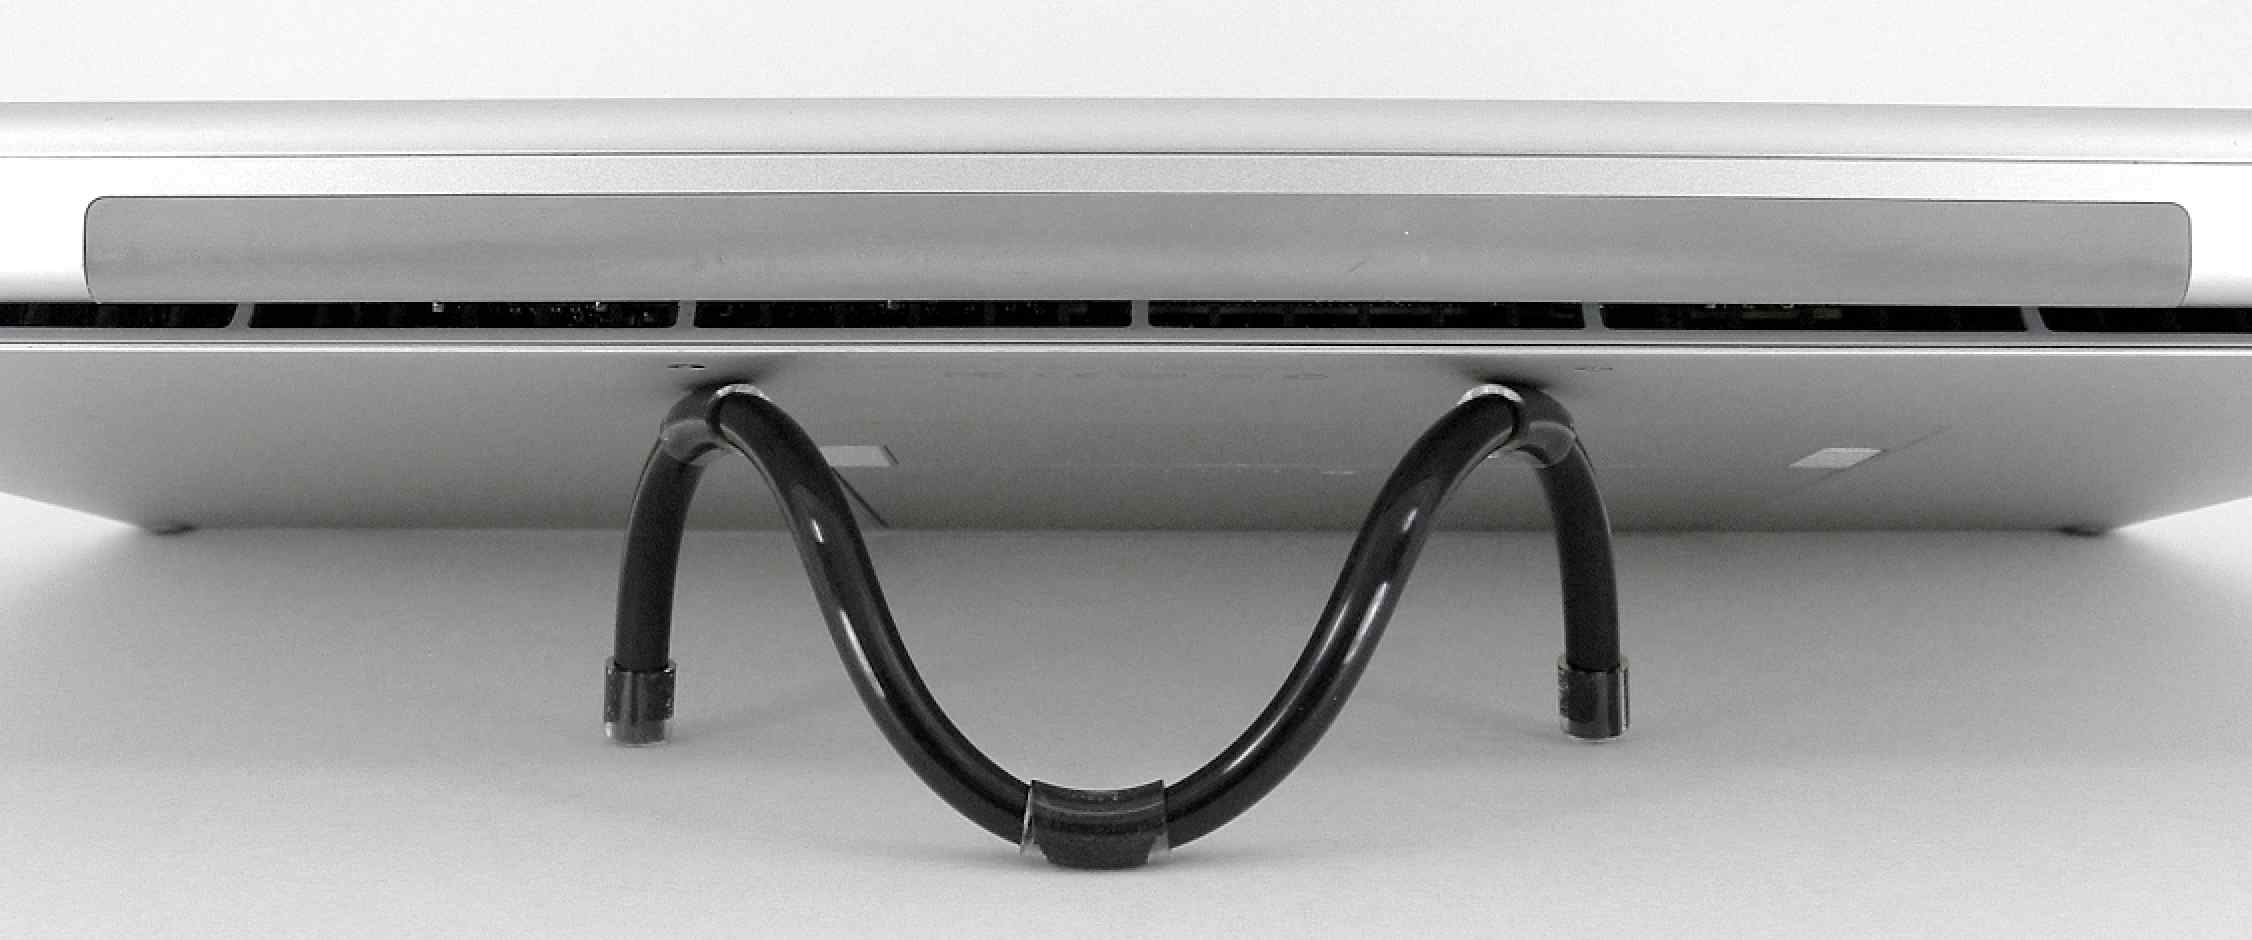
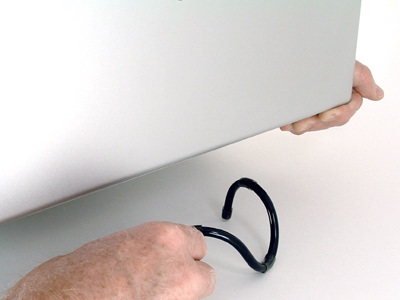
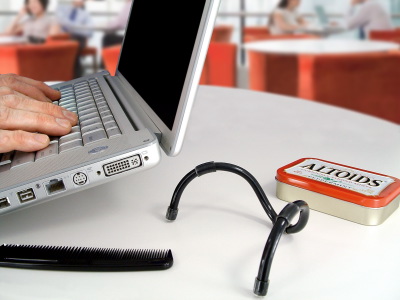
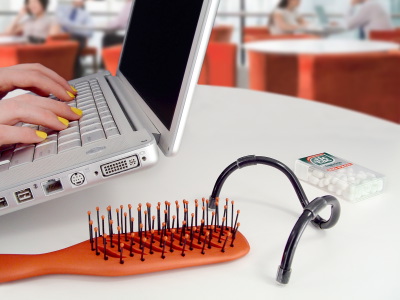
Out of the box the Mini Riser should fit most laptops. It’s simply a matter of placing the mini riser in the correct location and you are good to go. However, if your laptop is very large, small, or top heavy you may need to adjust the riser to properly support your laptop.
Using
Set the mini riser on a flat surface. (PIC 1-1) Place your laptop on the riser so the riser is centered (use logo on the lid). The bend of the riser should stick out from the back a little (about 0.5 inch). (PIC 1-2) Visually check that the riser is evenly positioned along the edge of the laptop (uneven placement will lead to imbalance). (PIC 1-3) Placing the riser in this fashion provides the most stable platform for your laptop.
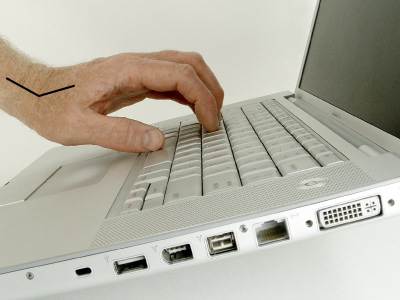
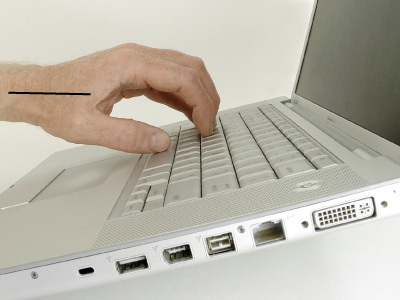
The first time you use the riser you should check that the bumpers are positioned correctly and the balance is good. Look at the side of the laptop. The two bumpers on the legs should contact the laptop in their center. (PIC 1-4) Now look at the back of the laptop. The three bumpers on the ends of the legs should evenly contact the table. (PIC 1-5) Open the Screen. Apply counter-pressure to the keyboard as you open the screen to prevent it from lifting off the table. (PIC 1-6) Play with the keys and trackpad. There shouldn’t be significant shift or wobble. If any of these are a problem, proceed to the Adjusting section to fix it. If all is good, make sure you read our Precautions before you head off to the coffee shop.
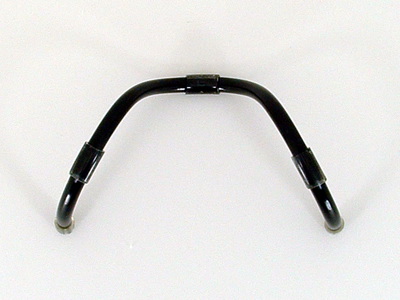
(PIC 1-1)

(PIC 1-2)
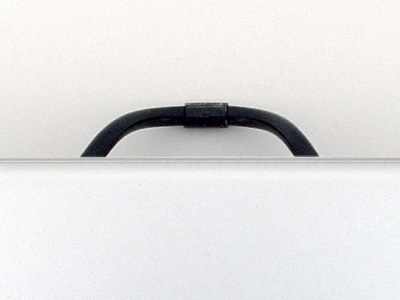
(PIC 1-3)

(PIC 1-4)

(PIC 1-5)
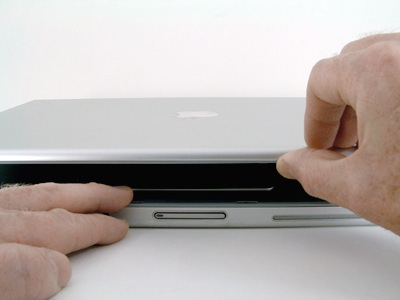
(PIC 1-6)
Using a Mini Riser
Adjusting
If you are having balance issues, the first thing to check is that the riser is centered and parallel to the back of the laptop as instructed in the Using section. If the riser is centered, evenly placed, the bumpers are in place, and you still have balance problems you probably need to adjust the riser to fit your laptop.
Moving Bumpers:
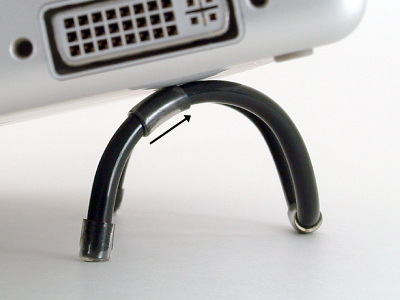
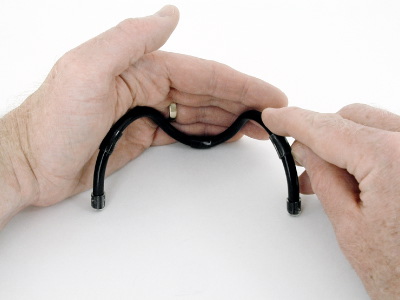
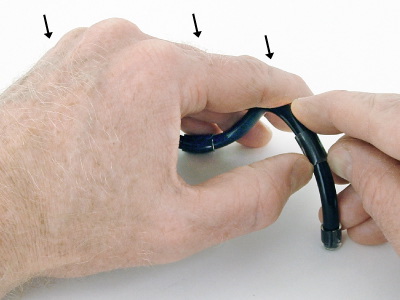
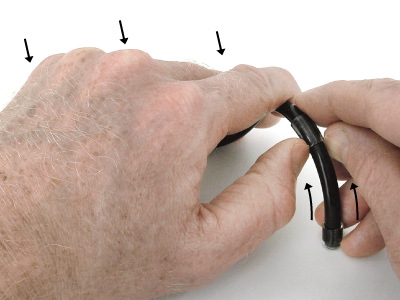
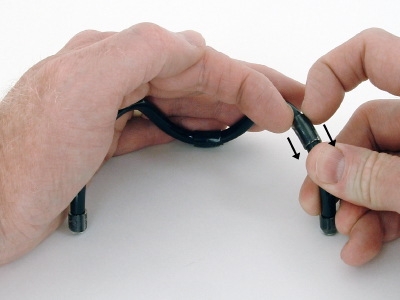
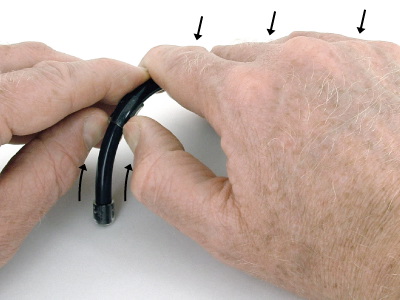
The bumpers need to properly contact the laptop as noted in the Using section. While your laptop is on the riser, note the direction and distance the bumpers should move to be centered on the bottom of the laptop. (PIC 2-1) Remove the laptop and set the riser on the table in front of you. Grab the edge of the bumper with your fingers while stabilizing the riser with your hands. (PIC 2-2, PIC 2-3) Push or pull the bumper into the new position. Fingernails help. (PIC 2-4, PIC 2-5). Repeat for the other side. (PIC 2-6) Make sure the bumpers are even on each side. (PIC 2-7) Set your laptop on the riser and check if bumpers are contacting properly. Adjust as needed.
Changing Width:
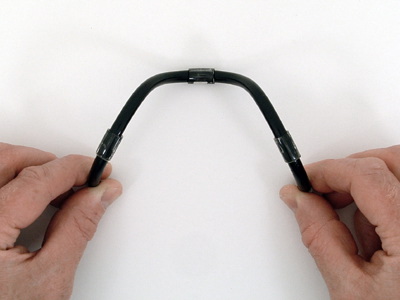
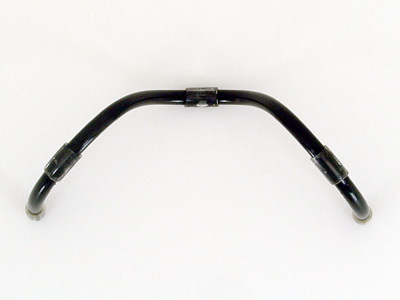
To widen the riser, set the riser on a table in front of you. Grab each leg with your hands. (PIC 2-8) In a slow, smooth motion stretch one of the legs apart while holding the other firmly in place. (PIC 2-9) Place your laptop onto the riser to see how it fits. Continue widening the riser until you feel the laptop is properly supported. You may have to adjust the legs and bumpers after this procedure. (PIC 2-10)
To reduce the width of the riser, set the riser on a table in front of you. Grab each leg with your hands. (PIC 2-11) In a slow, smooth motion push one of the legs inward while holding the other firmly in place. (PIC 2-12) Place your laptop onto the riser to see how it fits. Continue moving the legs until you feel the laptop is properly supported. You may have to adjust the legs and bumpers after this procedure. (PIC 2-13)
Fixing a Twisted Riser:
Your riser has been twisted if it has a noticeable lean from the front view, and the end caps are even from the top view. (PIC 2-14, PIC 2-15) This can easily be corrected. Take note which way the riser is leaning. Grab the riser by the legs with both hands and twist in the opposite direction of the lean. (PIC 2-16) Set the riser on the table and inspect. (PIC 2-17) Repeat until the riser is level.
Fixing a Pulled/Pushed Leg:
Your leg has been pulled/pushed if the end caps from the top view are not even. (PIC 2-18) Take note which leg is uneven. Flip the riser over. (PIC 2-19) Put pressure on the center bend with one hand, and grab the uneven leg with your other hand. (PIC 2-20) Slowly, bend the leg in the desired direction. (PIC 2-21) Set the riser upright on the table and check to see if it is even. (PIC 2-22) Repeat as needed.
(PIC 2-1)
(PIC 2-2)
(PIC 2-3)
(PIC 2-4)
(PIC 2-5)
(PIC 2-6)

(PIC 2-7)
(PIC 2-8)

(PIC 2-9)
(PIC 2-10)
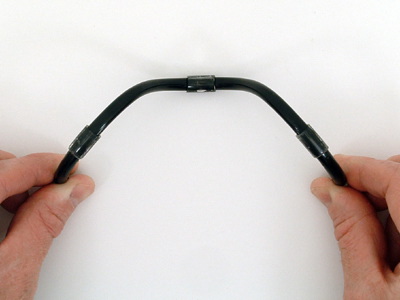
(PIC 2-11)

(PIC 2-12)
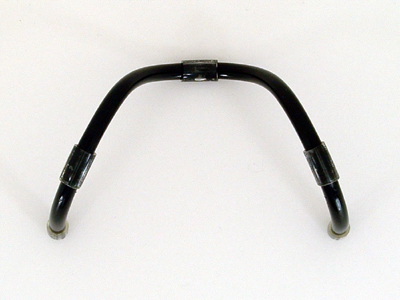
(PIC 2-13)
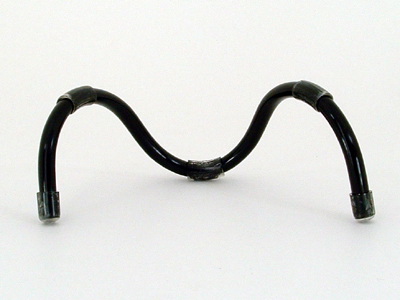
(PIC 2-14)
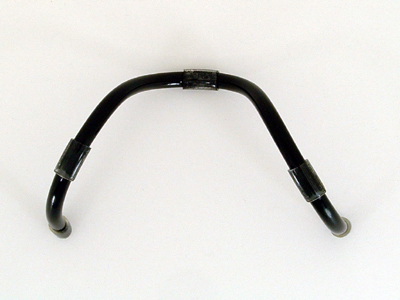
(PIC 2-15)
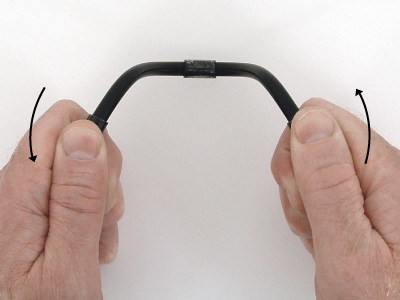
(PIC 2-16)
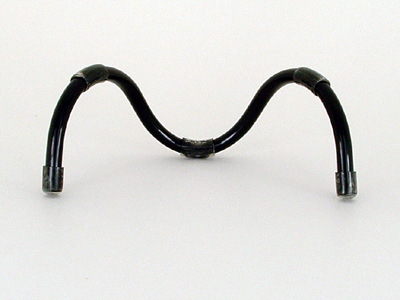
(PIC 2-17)
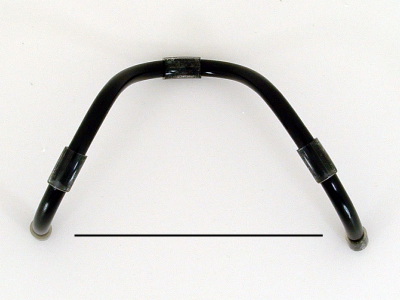
(PIC 2-18)
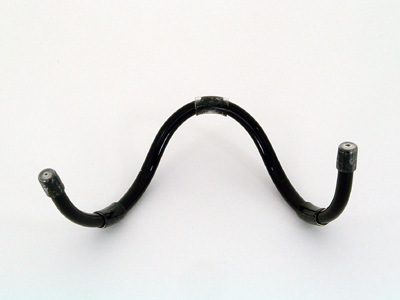
(PIC 2-19)
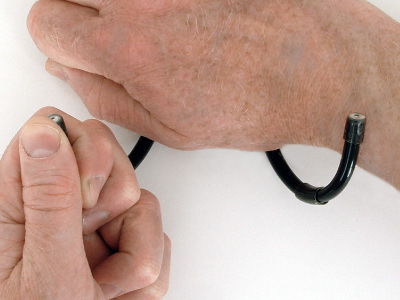
(PIC 2-20)
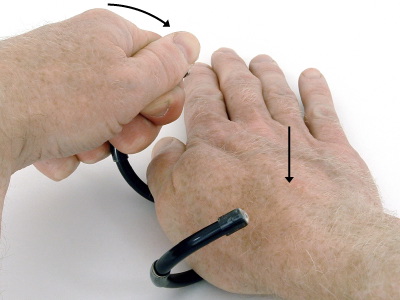
(PIC 2-21)
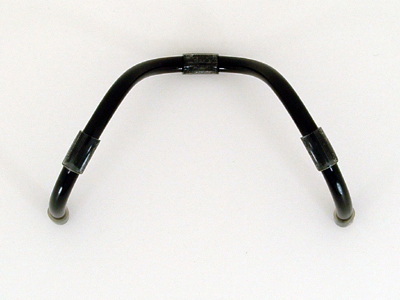
(PIC 2-22)


